Sunday, October 17, 2010

Tilapia with Spinach Salad

It's nice to switch it up a bit, especially if "switching it up" means buying fish instead of chicken and beef. There's really not much else to say about this dish besides it's deliciousness...
So my favorite part about this dish is how the flavors all work together. First of all, spinach and cranberries were a match made in heaven! Secondly, and most importantly, goat cheese goes perfectly well with a light, mellow fish such as tilapia. I once saw on a show, and have made it myself, tilapia with goat cheese pucks, where both were breaded and pan fried then served on a bed of spinach. YUM!
 
Yesterday I found myself at Your Dekalb Farmer's Market in North Decatur and I had the most spectacular time! They had large tanks packed with live tilapia and catfish and blue crabs. BUT I didn't want to reach my hand in and grab a whole fish (they don't let you do that anyways) and there was a long line at the fish counter so I grabbed some at Publix on the way home. 

Tilapia with Spinach Salad
1-2 Tilapia filets
1/2 c flour (I used whole-wheat of course) seasoned with salt and pepper
3-4 Tbls veg oil
baby spinach
handful of walnuts (toasted) and craisins
1-2 oz goat cheese
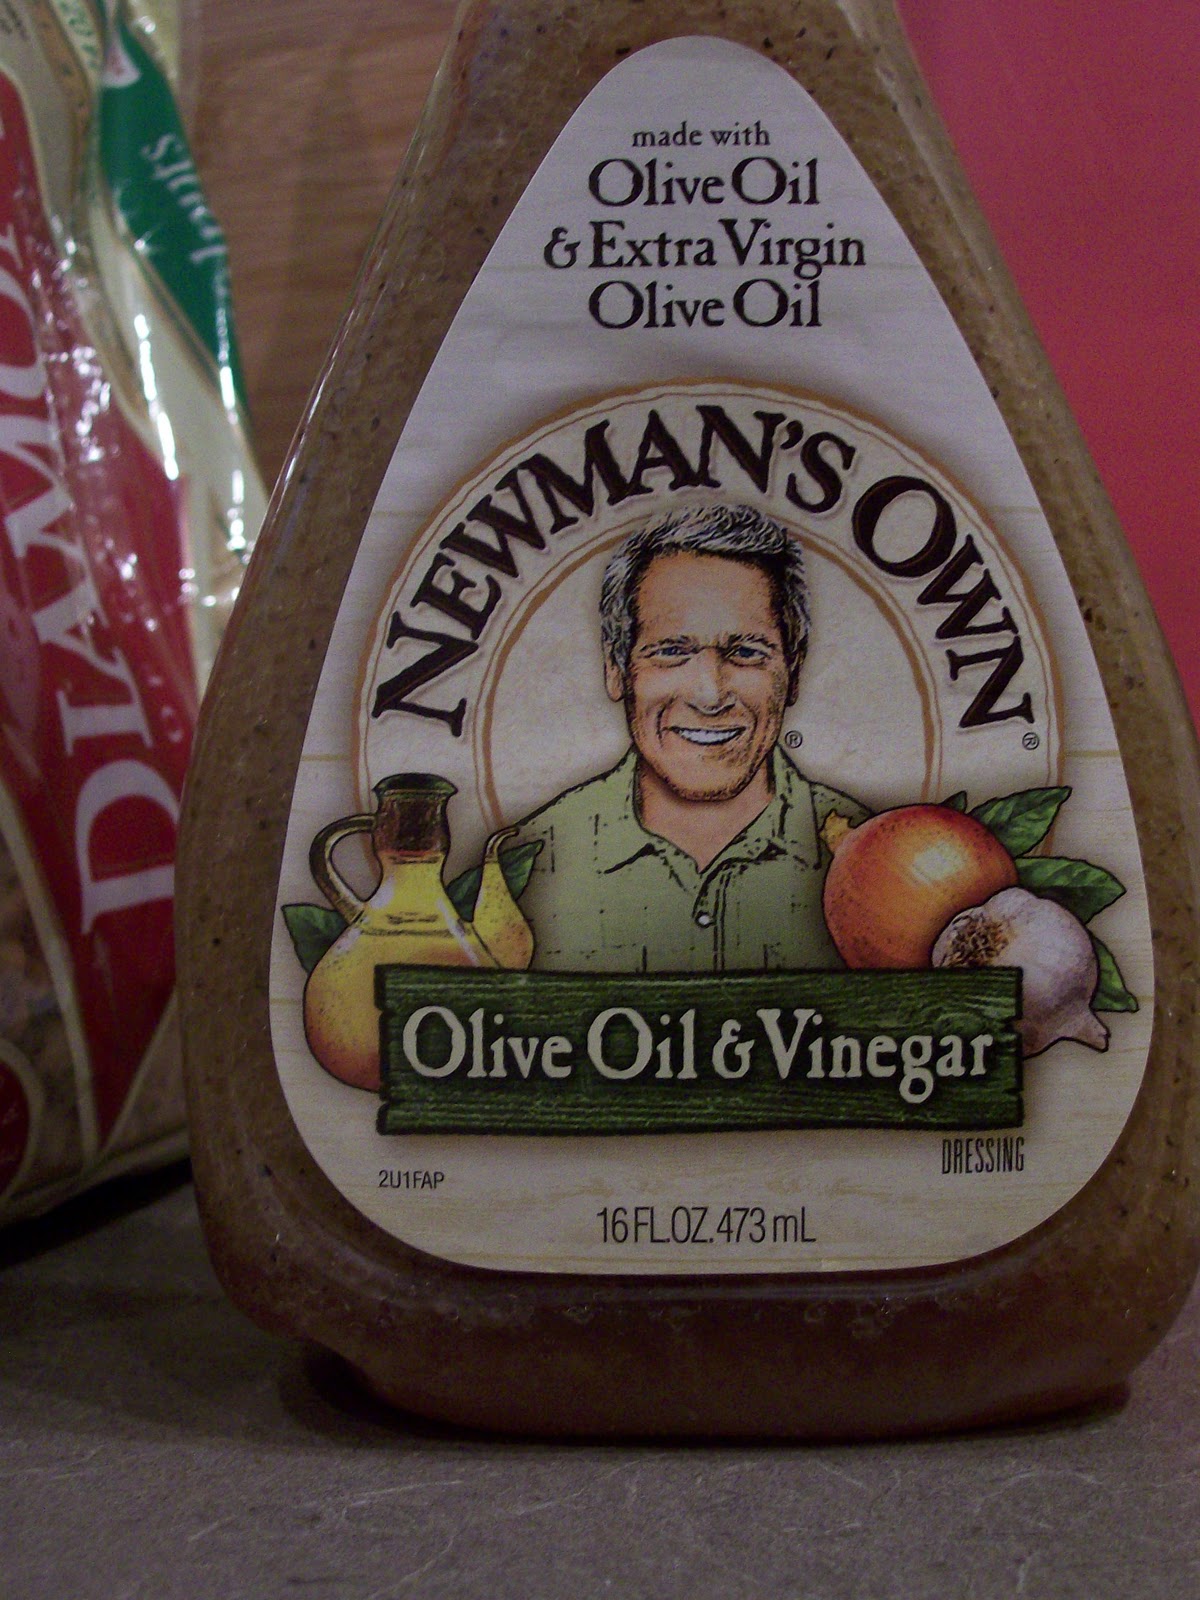
Newman's Own Oil and Vinegar Dressing

1. Heat oil in a large skillet. Combine flour with salt and pepper on a plate. Run the filets under water and shake off excess. Coat with flour on the plate. 
2. Once the skillet it hot, cook the tilapia for about 4-5 minutes on each side (depending on the thickness). While it is cooking, mix together the salad. Break up small chunks of goat cheese on top or mix in.
3. Take out fish, sprinkle with more salt (if desired) and serve on top or along side the salad.

Enjoy!

Saturday, October 16, 2010

Winter Waldorf Salad

Ever had a craving for a really yummy salad? Well, I'm sure this salad will be the one you crave and your new favorite! It's fairly easy (especially if you have leftover chicken). So the supermarkets are now packed with pears! They are such a glorious fall treat. Here's a helpful hint on picking out pears: with any pear with a thin skin (most except Bosc) feel for a slight give, but don't bruise them. It's best to buy them a couple to a few days in advance, depending on how ripe they are in the grocery store. Secondly, since Bosc pears have a tougher skin, they wont ''give'' as much when you press on them. Also, I have found that if I wait until they do "give," they are too ripe. [Stay tuned for a  Bosc pear recipe!]
Also, my favorite salad dressing is used. Newman's Own Oil and Vinegar is so delish and its very simple.  

And can I just say something else? I LOVE fruit, especially craisins in salad because it gives you that sweet bite that is so unexpected, but OH SO GOOD! All of the different textures in this salad make it a delight to eat: crispness of apples, smoothness of pears, tender chicken, chewy and succulent cherries and craisins, and crunchy walnuts.

Winter Waldorf Salad
1 roasted or leftover chicken breast
1 peeled and diced apple
1 peeled and diced pear
handful of each: dried cherries, craisins, walnuts
little bit of Lemon Juice
Newman's Own Oil and Vinegar (or whatever dressing you like)
spinach and/or any greens you want

1. Start out by toasting the walnuts on a dry pan and set aside.
2. Chop chicken, dice the apple and pear and add to mixing bowl. Add the cherries, craisins and walnuts. 
3. Take a small piece of lemon and squeeze it over the ingredients and stir so all the fruit is evenly coated with lemon juice. Then add dressing to taste.
4. Serve over dressed greens. Makes 2-3 Servings.

Friday, September 24, 2010

Whatevayougot Casserole

In planning to spend the last few days of the month on about $150, I decided to make some frugal culinary decisions. Also, I found this recipe book that my mother had given me, Quick Dishes for the Woman in a Hurry circa 1982, which inspired me with this dish. I really like that book because it is a blend of Paula Deen's fun'n'fatty food, and the 1950's quick-fix-canned-food stage. The recipe in the book called, "Jiffy Creamed Chicken" calls for CANNED chicken, and for some reason (assuming this book was written for the woman in a hurry) they think that you will always have a can of CHICKEN in your pantry. What is this? wartime? haha.
Anyways, reading the recipe, originally topped with bread slices cut into roosters/chickens with cookie cutters, I was reminded of Paula Deen, who always seems to make me feel warm and fuzzy. I was also brought back to a summer camp where they served the chicken and rice dish made from cream of mushroom soup, chicken, and rice. I then trotted over to my pantry where I pulled out my one can of Cream of Mushroom Soup (with roasted garlic) and started scheming. 
I then raided my fridge to find leftover chicken (precooked [which reminds me that the best thing to have in your fridge, just in case, is an extra breast or thigh, roasted. Any time you cook chicken, cook extra.]), leftover creamed spinach, frozen peas. I also decided to add some whole wheat shells to the equation.
Really, I just threw in leftovers with whatever else I thought would taste good from the pantry. You can take this Casserole any direction you want.

And I made my own croutons and didn't cut them into chicken shapes.

Also, here is a testimonial from my roommate/best friend, Mica: 
" This casserole was absolutely perfect. the mixture of flavors was satisfying and  delicious. it also used a bunchof leftovers we already had. i brought it to school for the lunch the next day, and it was just as delicious cold as it was hot. YUM.    "
Whatevayougot Casserole
2-3 slices of bread
1-2 chicken breasts, precooked
1/2 small onion
1 garlic clove (if you are using regular cream of mush soup)
1/2c frozen or canned peas
1/2 pkg frozen spinach, thawed and squeeze-drained or whatever veggie you like or have leftovers of (mushrooms would be good)
1 c precooked medium shells (or rice, or whatever starch you like)
parmesan cheese

1. Saute onions and garlic in olive oil until soft. Add chicken until it is heated through. Add Cream of Mushroom Soup, peas, spinach. Gently heat through. Salt to taste.
2. Cook the rice or pasta while the other ingredients are heating. Also cube the bread, toss with olive oil and garlic salt, and toast in the oven (350 deg for about 10 minutes or until golden and crispy).
3. Mix the soup mixture and cooked pasta together. Pour into a greased baking pan/casserole dish, top with croutons and cheese.
4. Bake at 350 until cheese is melted and the center of the casserole looks warm and slightly more firm than when it went in.
Enjoy!

Wednesday, August 25, 2010

What you've always wanted: The Perfect Risotto!

My new comfort food is anything Carbs. Actually, I think it has always been my comfort food, but I am getting the chance to indulge it more now that I am exercising more.
It all starts with Arborio Rice, which can be expensive, but WELL worth it (mostly cause it expands to three times greater than how it starts!)


This is what it looks like before it is finished cooking.
You might want to do a couple taste tests to see if it is cooked through. All of the liquid should be absorbed and it should look like a thick, semi-globby paste, with rice.


Perfect Mushroom Risotto
about 6-8 mushrooms (I used babybella) chopped
3 cups chicken (or vegetable) stock
1 c arborio rice
oregano, thyme, salt, pepper
half an onion
butter, olive oil
parmesan
1. In a small saucepan, heat the stock until just warm, not boiling. In another saucepan, chop onion and sauté in butter and olive oil. Add mushrooms just as onions start to soften. Add about 1 tsp of oregano and 1/2 tsp of ground thyme.
2. Add arborio rice and toast for about 2 minutes.
3. Using a ladle, put about half a cup of the stock in the rice pot. Stir every few seconds. This pot should be at about medium heat--enough to where the rice is cooking, but not enough to where the mixture is sticking to the bottom of the pan or that it is violently bubbling. This step requires patience and lots of stirring. I've found that if you want really creamy risotto without the cream, you must stir.
4. After the stock is mostly absorbed into the rice, keep adding, in the same increments, until you've used all the stock and the rice is fully cooked. If rice is not cooked through, heat up more stock and add it to the rice. Cut off the heat and add a small handful of parmesan cheese.
Serve on its own, topped with chicken, or as a side.

Enjoy!

Tuesday, July 13, 2010

Rosemary Garlic Smashed Potatoes

As of the last day or two, the current weather, rain, has me feeling a tad down (that paired with other events).
Although, I love looking out one of my kitchen windows to see the luscious green foliage enjoying the summer showers. What a comforting sight to see foliage! What a change from the city where I once lived!
To further comfort myself, I decided to indulge in a trip to Harry's Farmer's Market where I continued to buy food I don't need. I found the cutest potatoes there (I know they are always waiting for me when I arrive). If you don't have these tri-color potatoes, you could just use the tiny red potatoes, which I think might be called summer potatoes? Not sure, but I continued to make a lovely side dish.


Okay, maybe they aren't the most glamorous of side dishes, but if you pile the finished ones in a small lightly-colored bowl, a Martha effect ensues. It is a Good Thing.

Smashed Potatoes
small bag of small potatoes (about 15-20)
sprig of fresh rosemary
2 cloves minched, smashed garlic
2 T butter
2 T olive oil
salt, pepper

1. Boil potatoes until a sharp knife sticks into and comes out of the largest potato fairly easily. Drain.
2. In a large skillet over a medium-low flame, melt butter and oil and add garlic. Cook garlic just a minute, do not let brown.
3. Add in drained potatoes. With a large spoon (I used a soup ladle), lightly press down on the potatoes until they give way slightly. This should form a smashed potato; the skin should be broken in a couple places.
4. Brown each potato on both sides and turn off heat. Toss in finely chopped rosemary. Serve hot.

Enjoy!

Wednesday, July 7, 2010

Hiatus

The current state of things:
Well, the "college cook" is virtually nonexistent at the moment; it's more like "the college cook who lives at home in the summer time but is still working her butt off to take a class downtown and to make money when she can." Basically, I still cook, and in a lovely, newly-remodeled kitchen, but the fact that I get embarrassed from taking pictures of the food I love to cook stands in the way. I guess embracing the fact that I love food and that I like to invent and share new ideas with people is the best way to be embarrassed. So I vow, from now on, to work harder at my passion, to not be embarrassed to take pictures of food, and "to live by the girl scout law."
Have a good night!
Eat well!

Friday, April 30, 2010

What the Pho?

The Vietnamese Pho is probably one of the best dishes ever created. There's nothing more comforting that a big bowl of noodles! It can be pretty versatile too, you can omit the chicken broth and use vegetable broth, and you can also put whatever veggies you like in it.
Furthermore, you can use whatever kind of noodles you want. I used tofu noodles cause I like to limit my carbs (they are pretty good, they just need to be boiled before you make the soup). By the way, it is pronounced Fuh? (with a question mark).


Olivia's Pho
1 pkg tofu noodles (or rice noodles)
2-3 c chicken broth
chicken breast
ginger
2 cloves of garlic
dark soy sauce
bean sprouts
sugar snap or snow peas
carrots
mushrooms
cilantro
lime
salt
sambal (spicy chili sauce)


1. Slice all veggies thin and set aside until service.
2. Parboil the noodles in water first. Drain noodles, set aside. Slice chicken fairly thin, season with salt, and boil in the same pot with 2-3 cups of chicken broth. Add smashed garlic cloves, slices of fresh ginger, and a few splashes of soy sauce. Add noodles when the chicken is almost done. 
3. Let simmer until the flavors meld together. Take out cloves of garlic, add all veggies. Stir in Sambal. Serve with limes.